Here are some quick steps below to help you share appointments via the CasePacer Calendar to a Google Calendar.
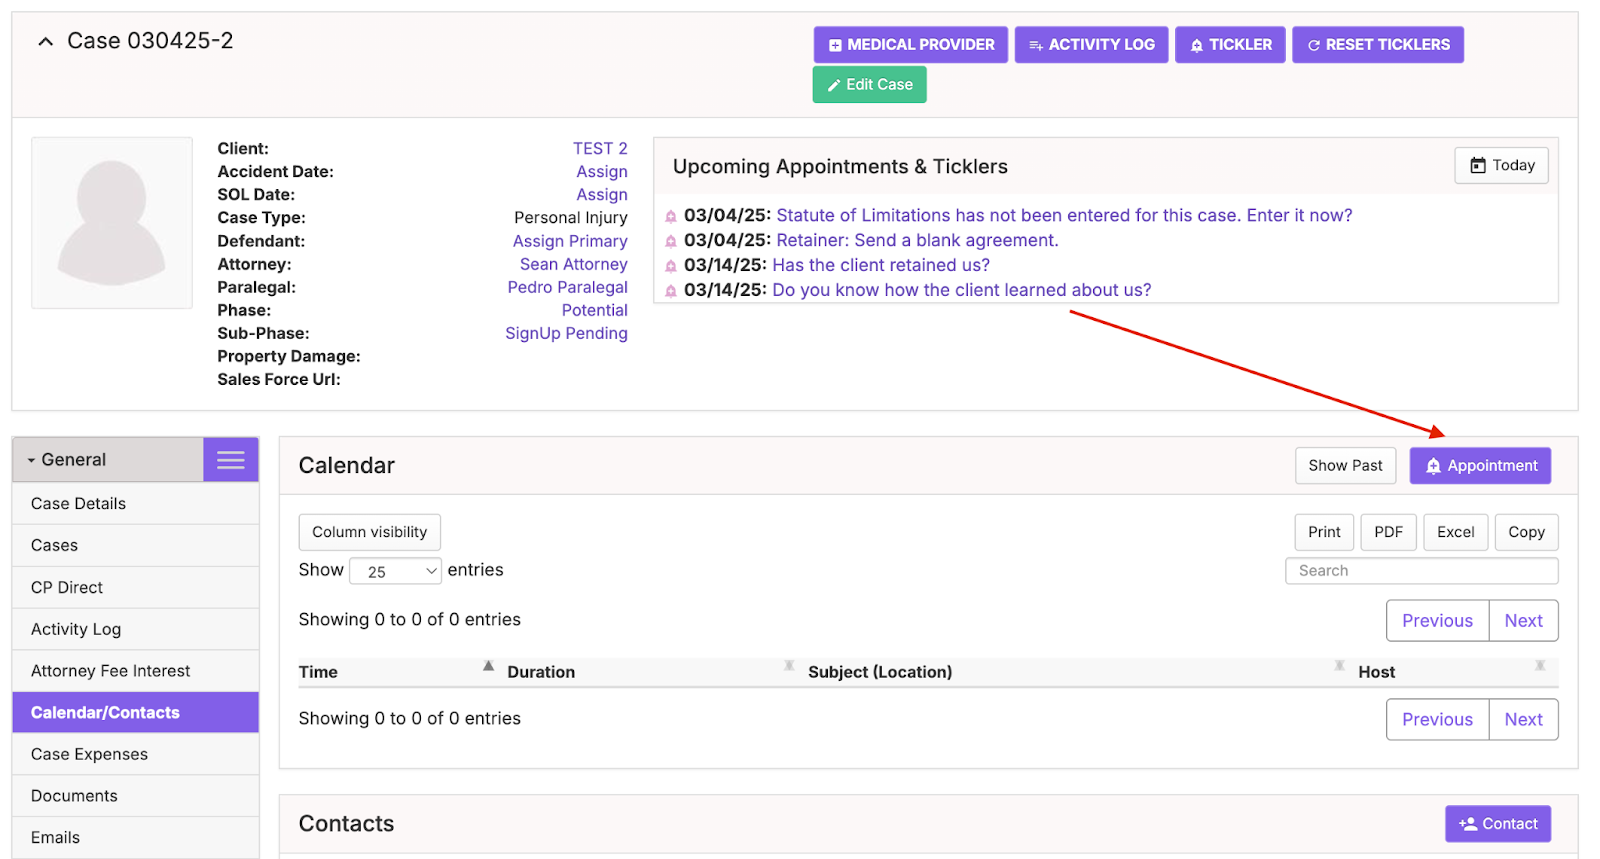
1. Open a case in CasePacer.
2. Once in a case, go to General Tab → Calendar/ Contacts. Select Appointment.
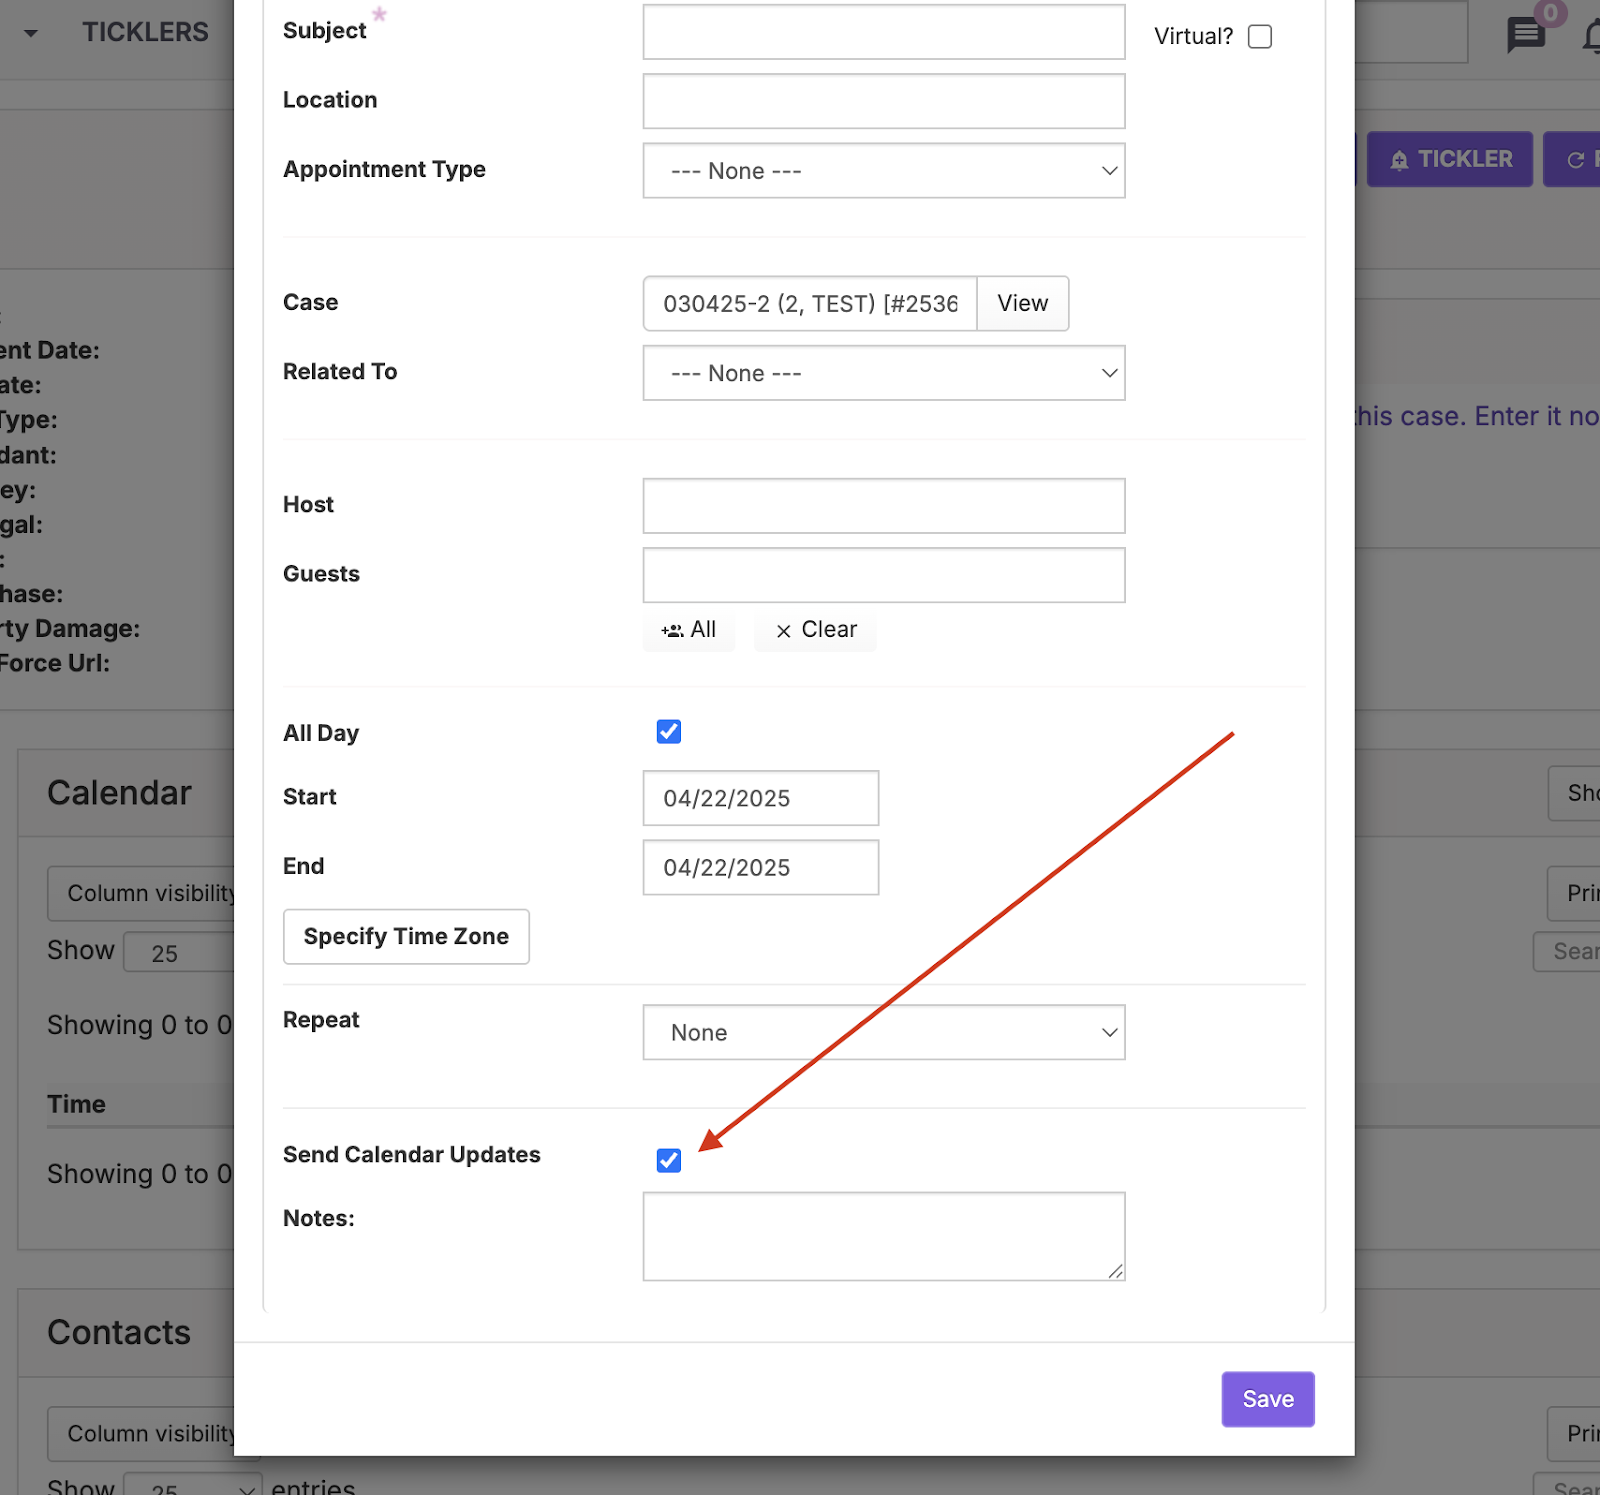
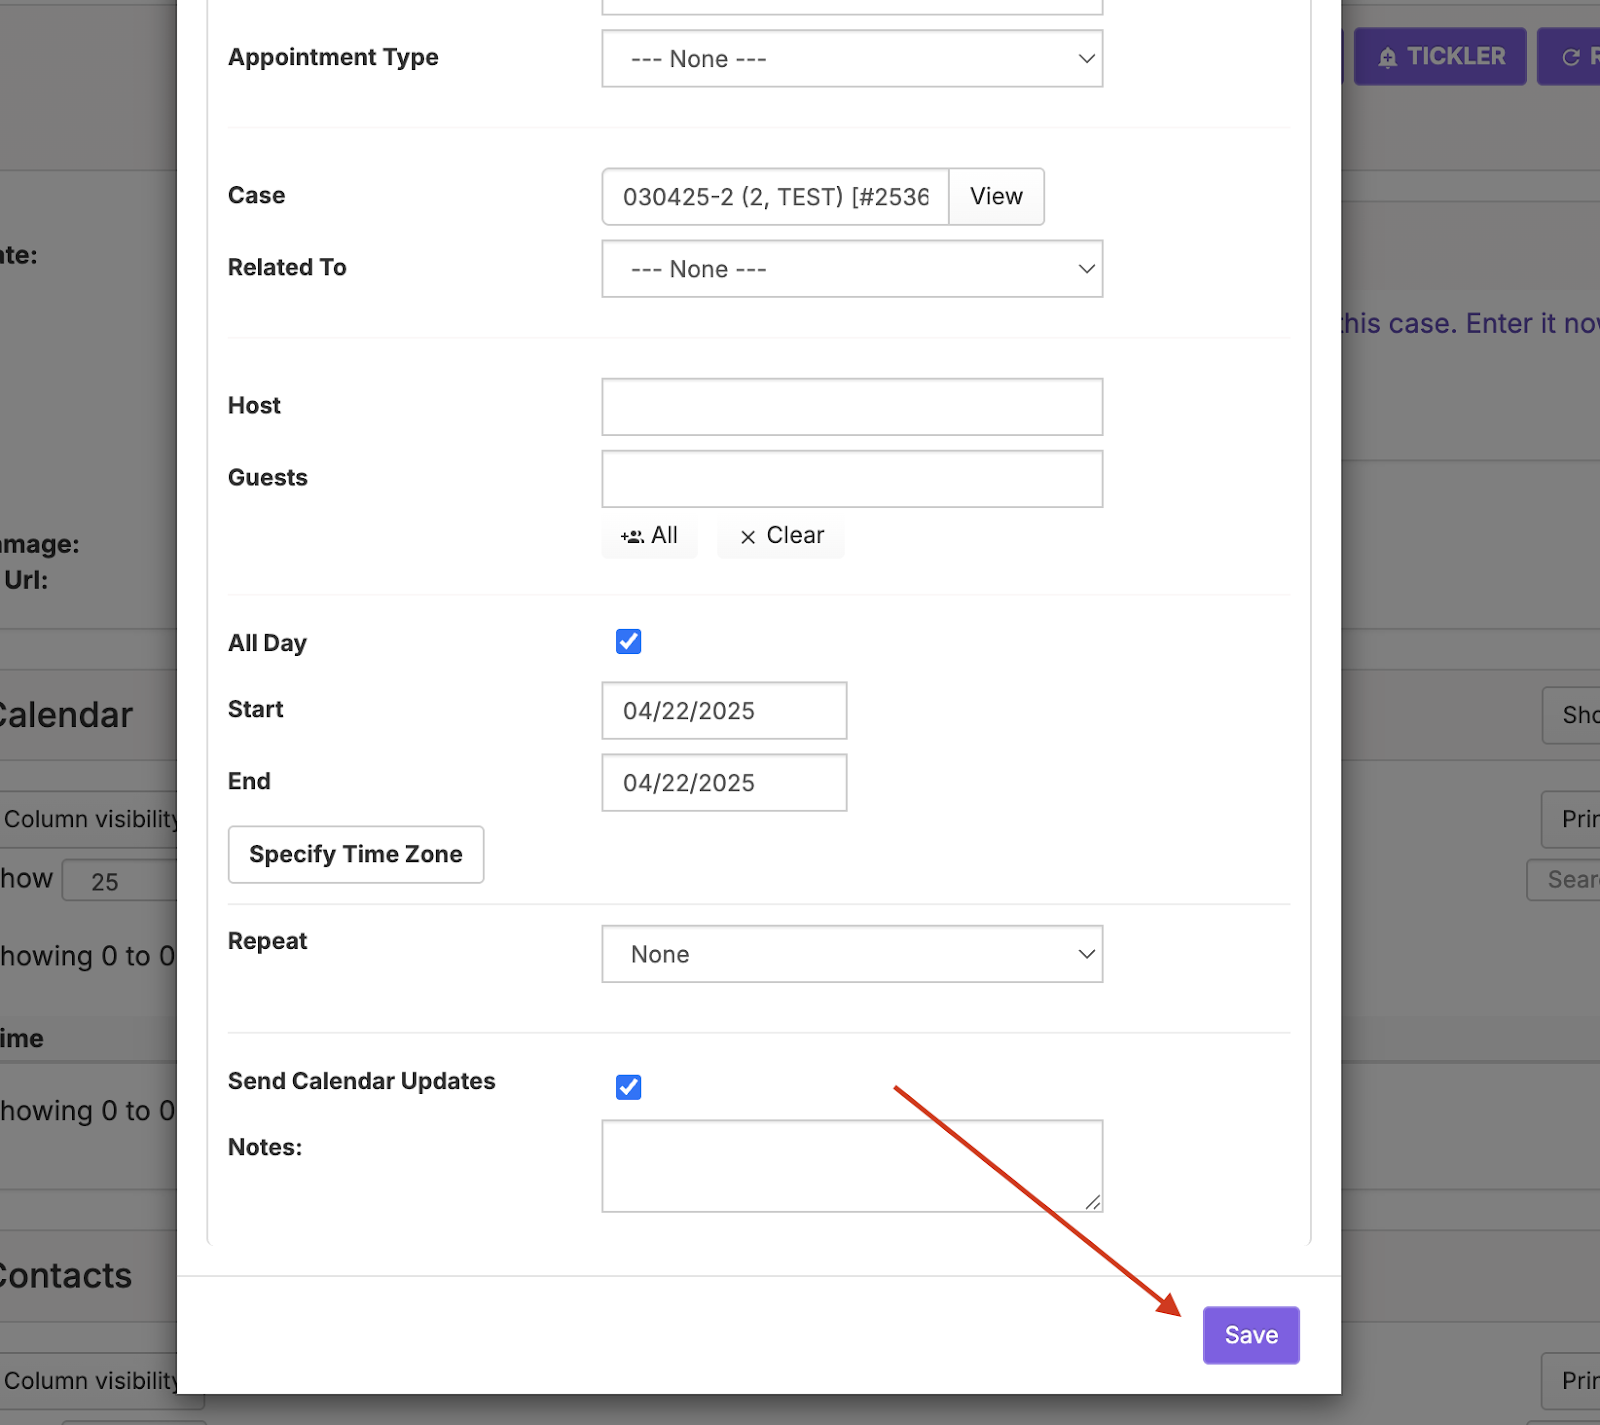
3. The Create an Appointment box will appear:
4. Insert appointment details. Be sure to click on Send Calendar Updates.
PLEASE NOTE: If you do not select the Send Calendar Updates option, the invitee will not receive an email notification. Selecting this option will also ensure that any appointment adjustments/ reschedulings are updated across the board. Both the invitee and CasePacer user will receive rescheduling notifications in their respective Calendars.
5. When finished, click on “Save” at the bottom.
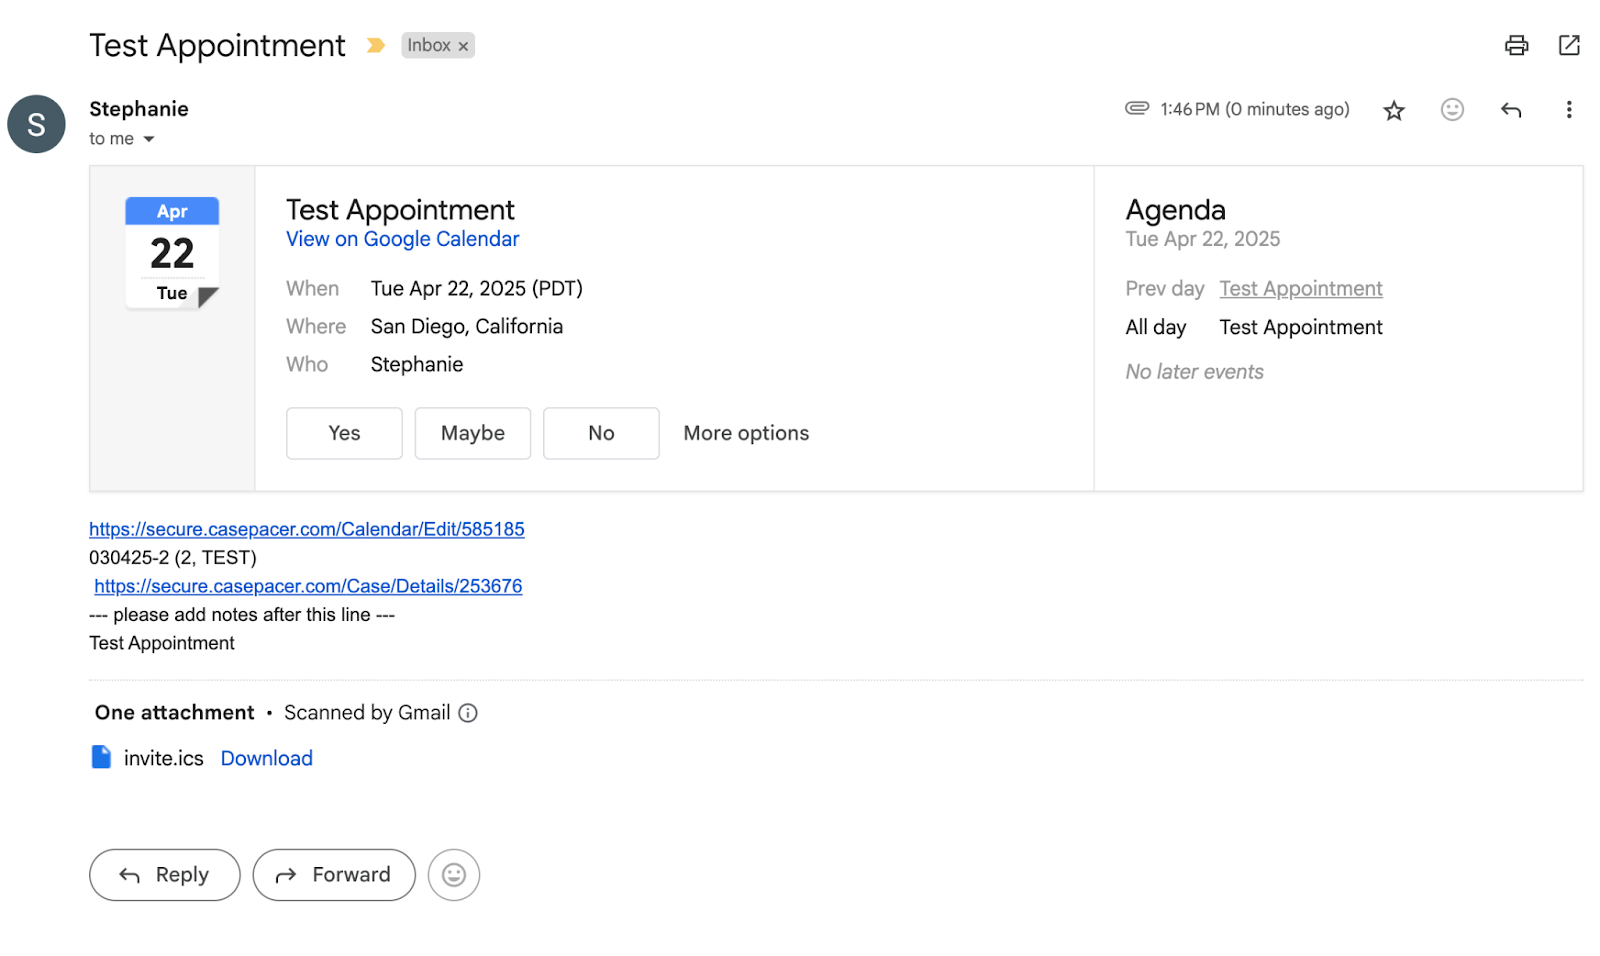
6. The Calendar appointment invite will appear in the invitee’s email inbox:
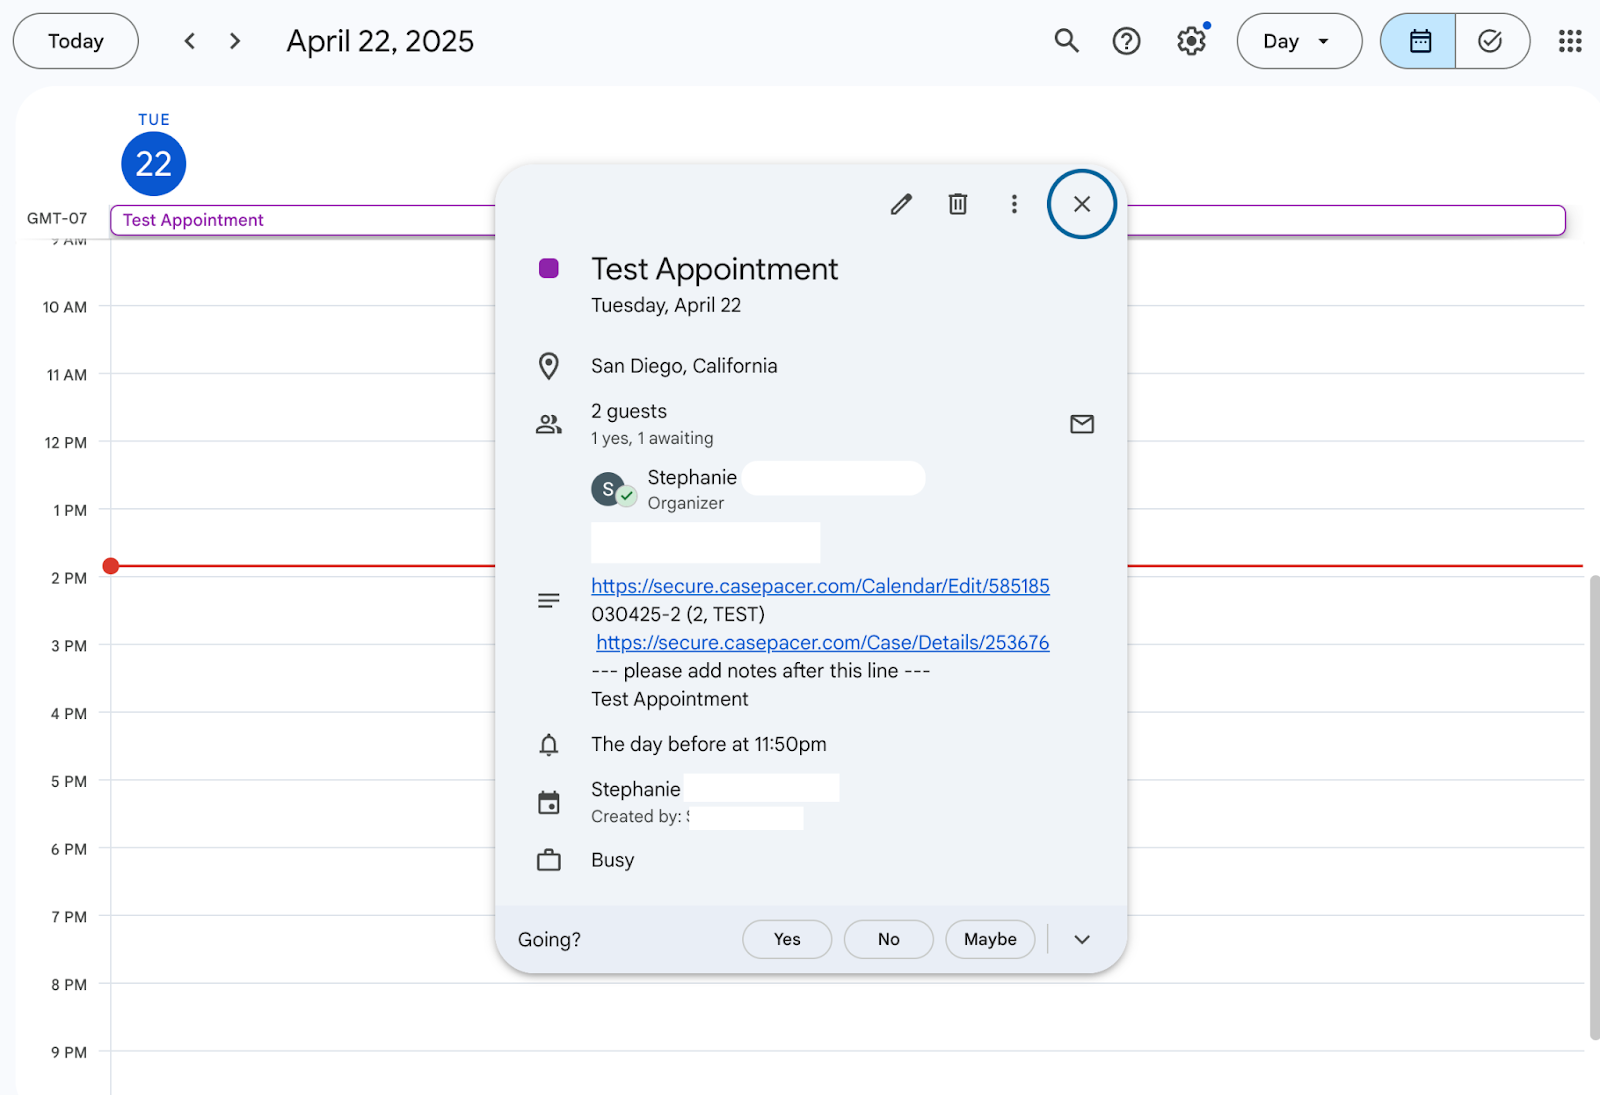
7. It will also appear in the invitee’s Calendar:

8. The Calendar appointment will be saved and appear in your CasePacer Calendar:
FINAL NOTE: As an alternative, you can simply create an appointment by going directly to your Calendar tab, and clicking on any date and time. The Create an Appointment box will appear.
